
Overview
In this guide we will learn how to install needed libraries and board files to use The Tactigon from Arduino IDE using a simple USB Cable.
Step I: Download Boards and Libraries for Arduino IDE
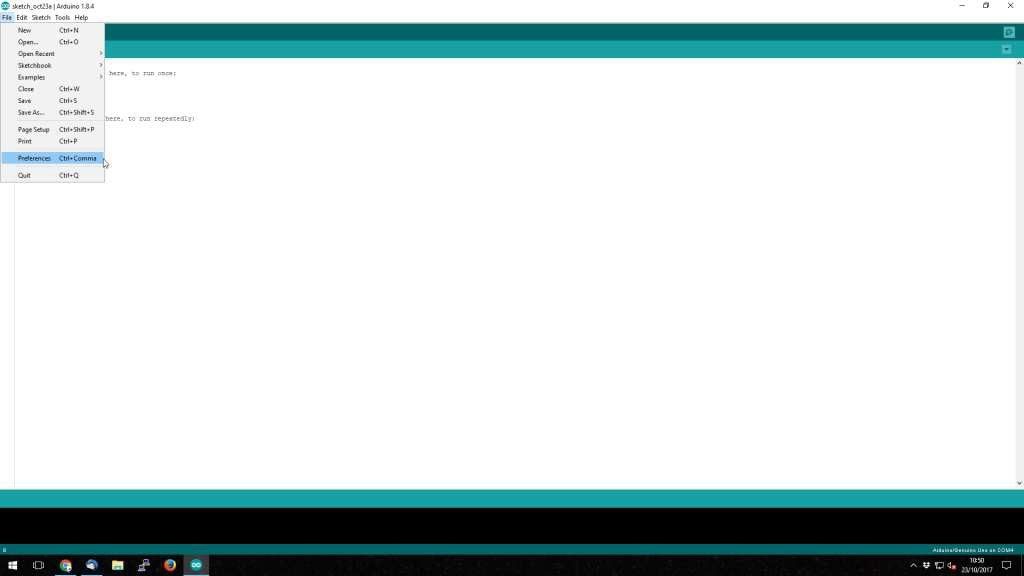
First of all, open your Arduino IDE and click File -> Preferences as shown in Figure 1.
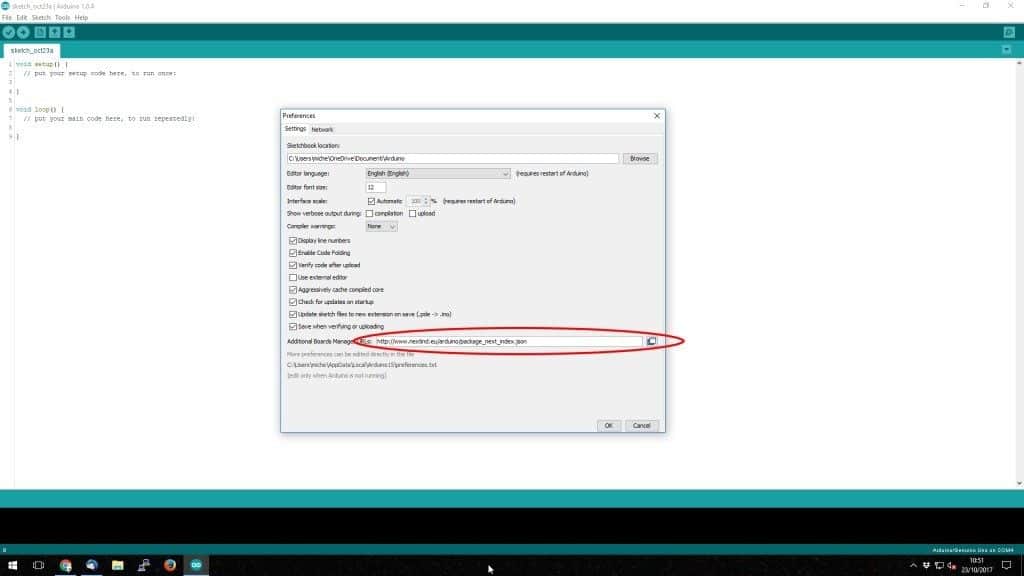
In the “Additional Boards Manager URLs:” insert the following link as shown in Figure 2: http://www.nextind.eu/arduino/package_next_index.json
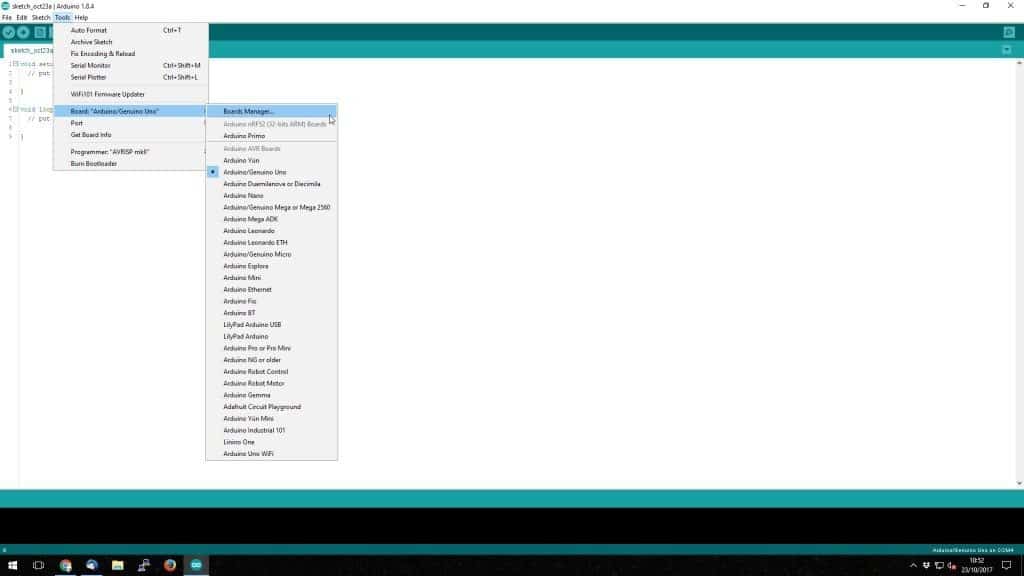
Now our IDE is able to find The Tactigon’s board and libraries. To download we will open the Arduino Boards Manager by clicking Tools -> Board: -> Boards Manager… as shown in Figure 3.
Once the Board
Manager has loaded
all available boards,
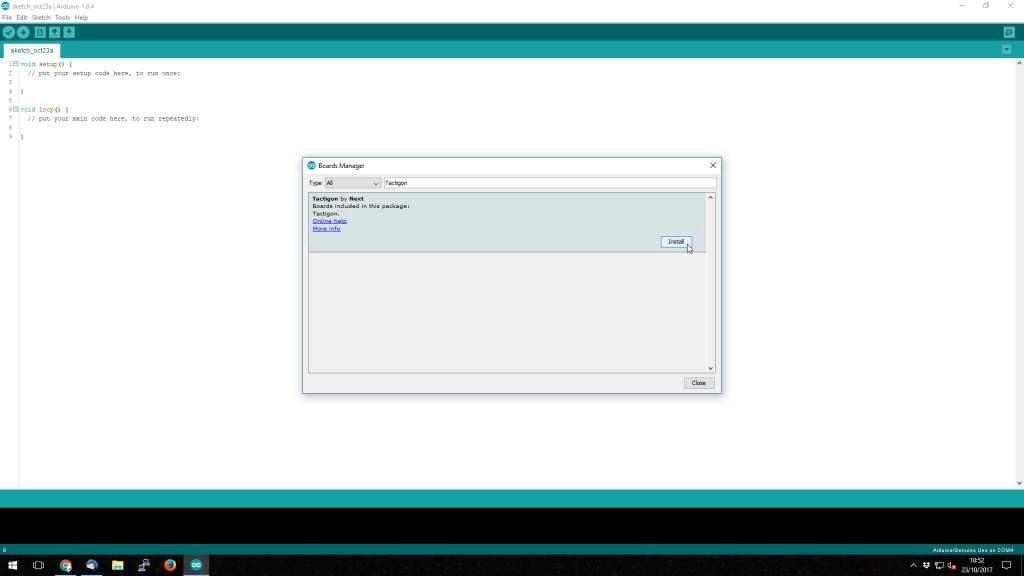
write Tactigon in search
field as shown
in Figure 4.
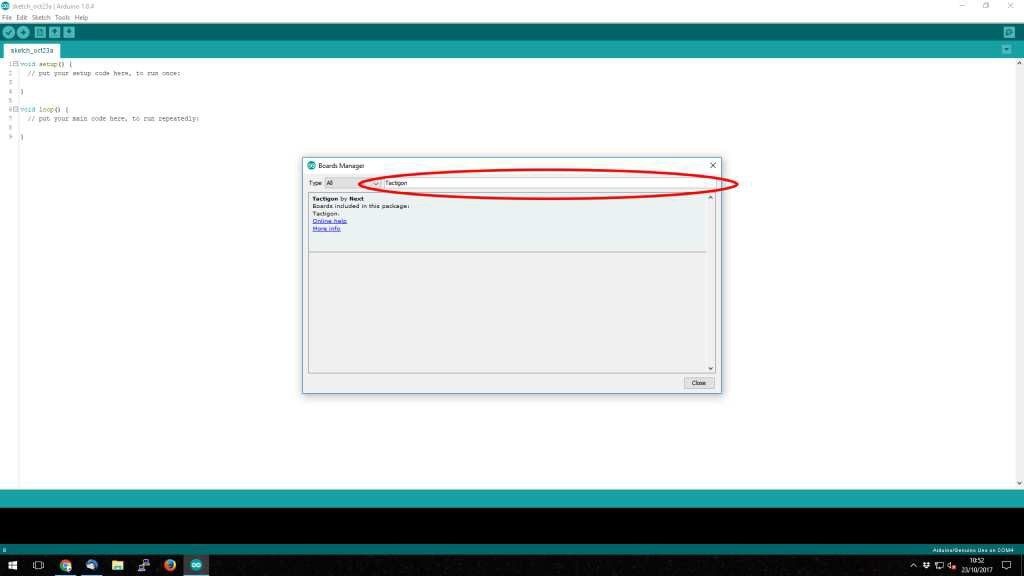
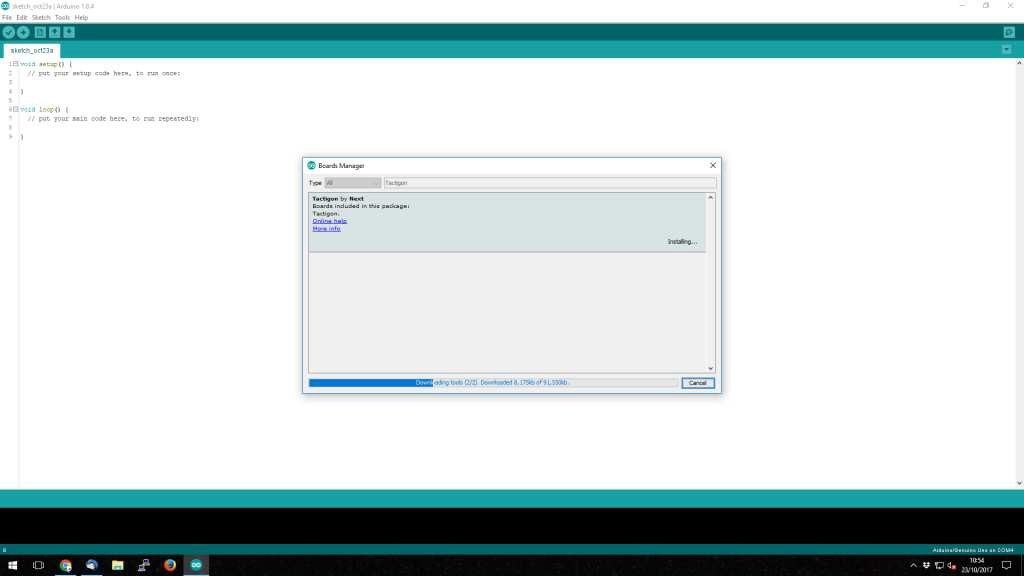
To proceed with the download, click on the Install button in the Tactigon’s row.
The process will take few minutes depending on internet
connection. Total size is approximately 120Mb.
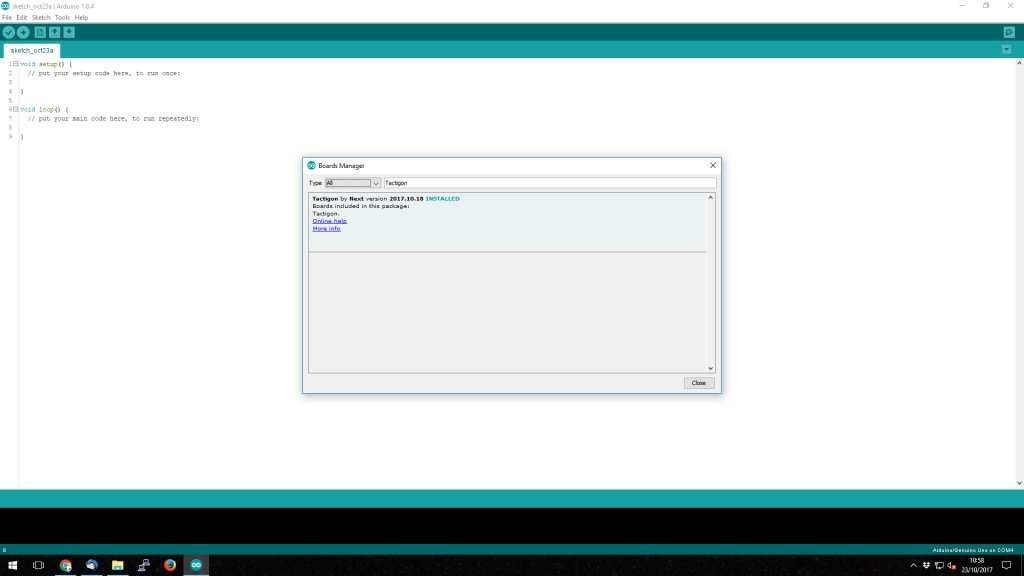
Once download is done, the “installed” tag will appear next to Tactigon by Next board as shown in Figure 7.
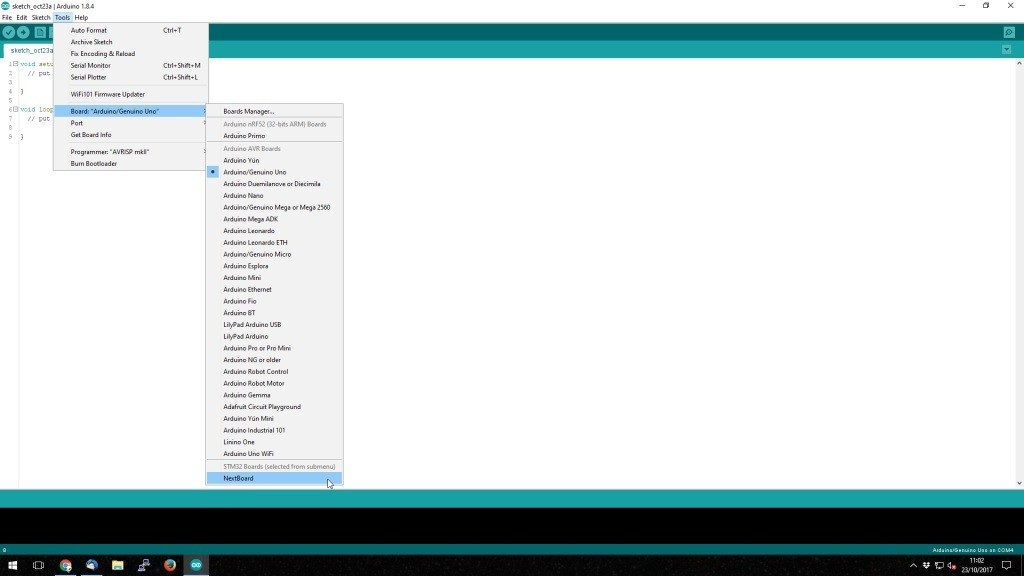
As a result, to double-check board installation click on Tools -> Boards -> and NextBoard should appear under STM32 Boards as shown in Figure 8.
Step II: Install Virtual Com Drivers
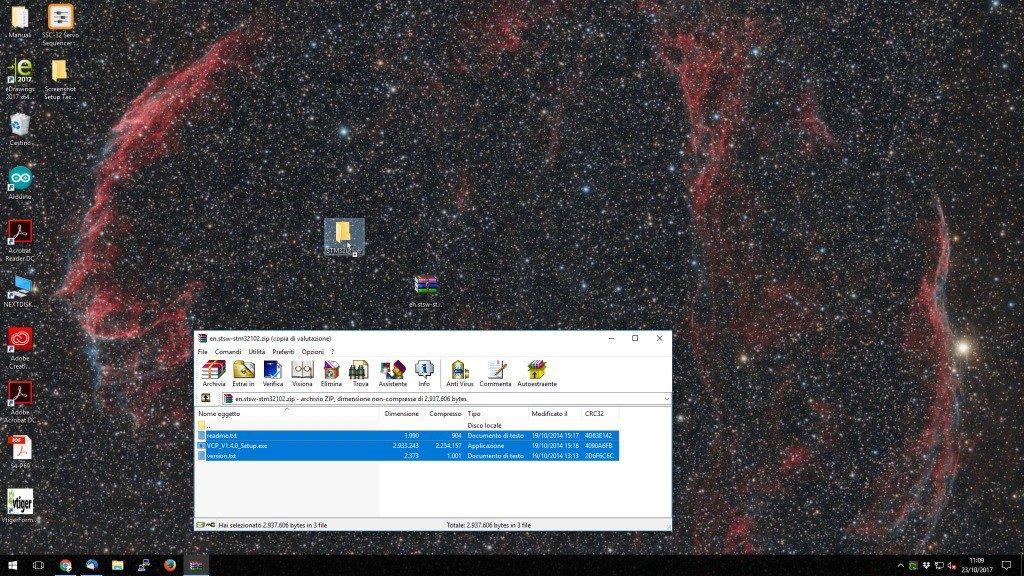
To start download the drivers from this link: http://www.nextind.eu/arduino/en.stsw-stm32102.zip
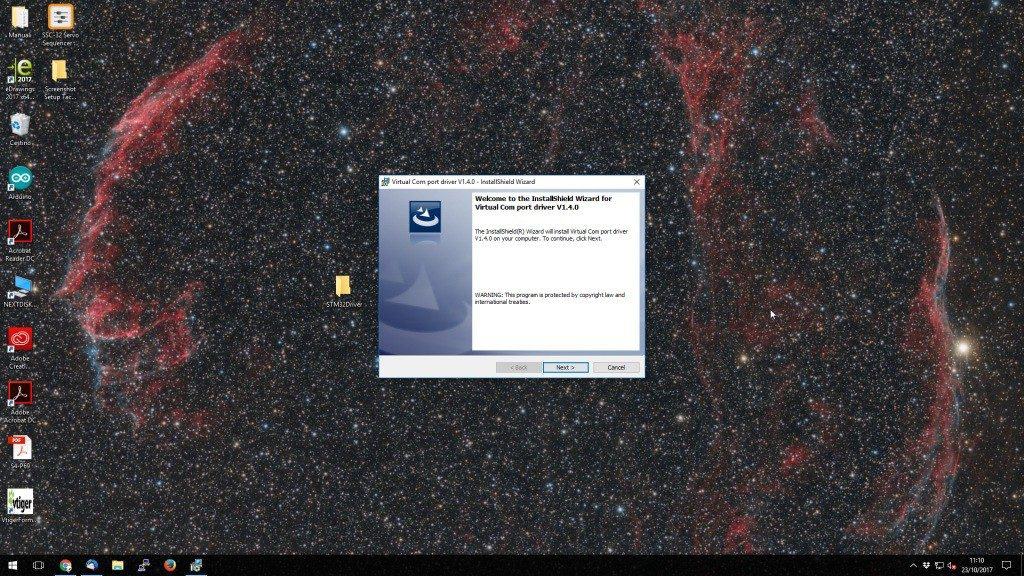
Extract all files in a folder as shown in Figure 9. Now open VCP_V1.4.0_Setup.exe file and click Next as shown in Figure 10 and take note of the Installation Path as shown in Figure 11. Click Install to proceed.

Now we need to check our system architecture (x86 or x86_64).
On Windows 10, right click on Start Menu and select “System” as shown in Figure 13.
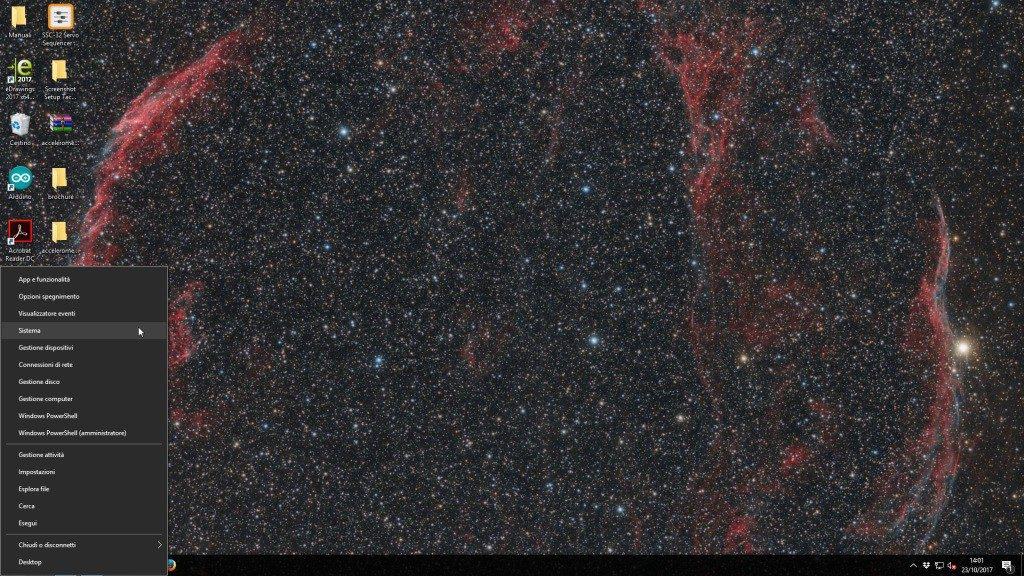
In this screen you need to check if it reports 32bit
Operative System or 64bit Operative System.
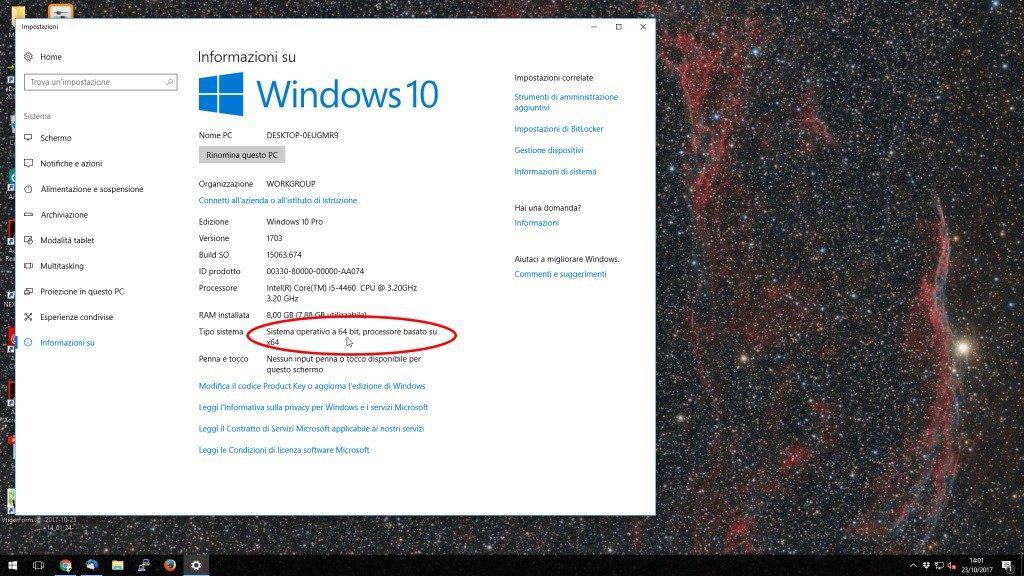
Figure 14
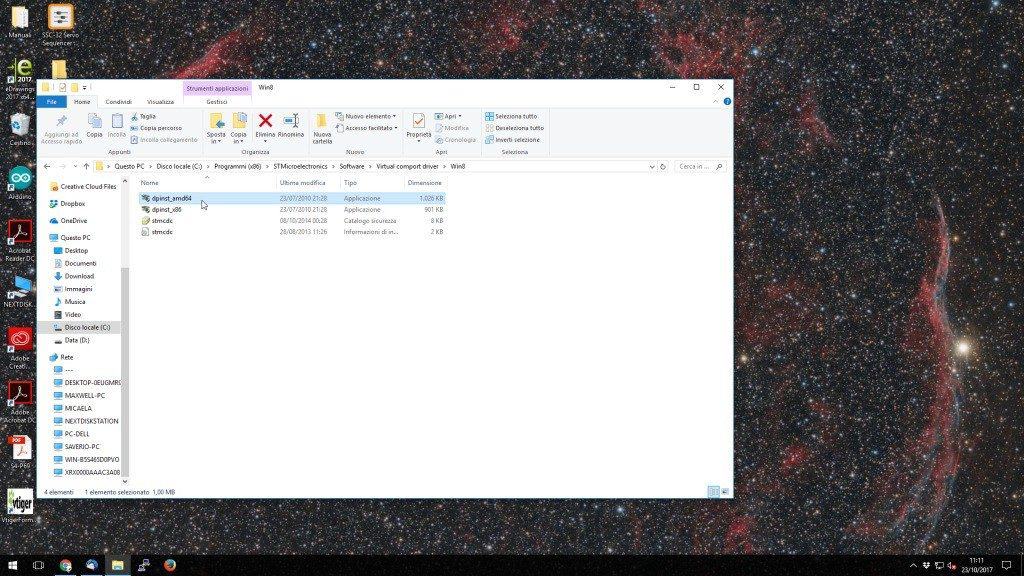
Now open the path we annotated in Figure 11 and run:
32bit OS: dpinst_x86.exe
64bit OS: dpinst_amd64
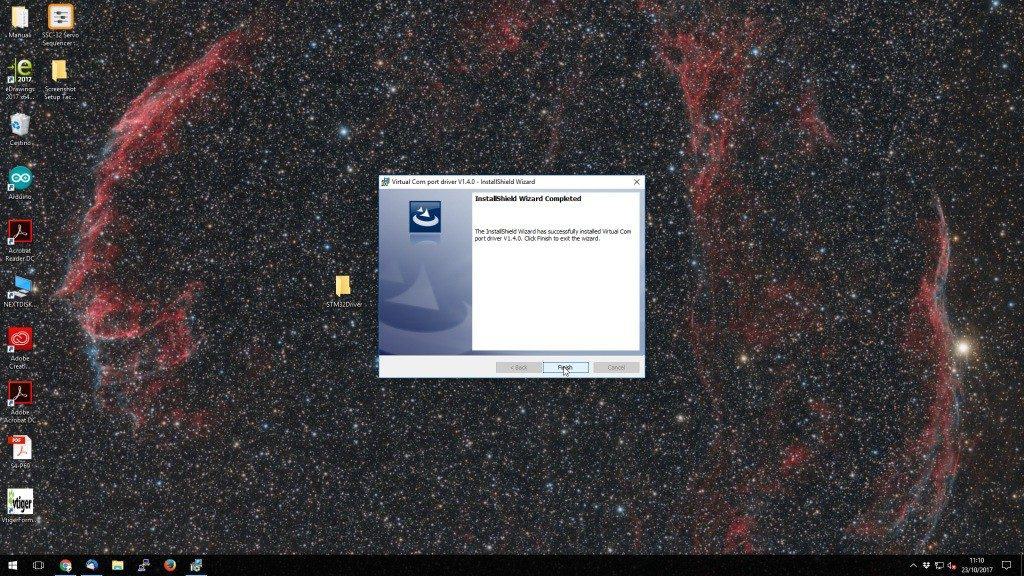
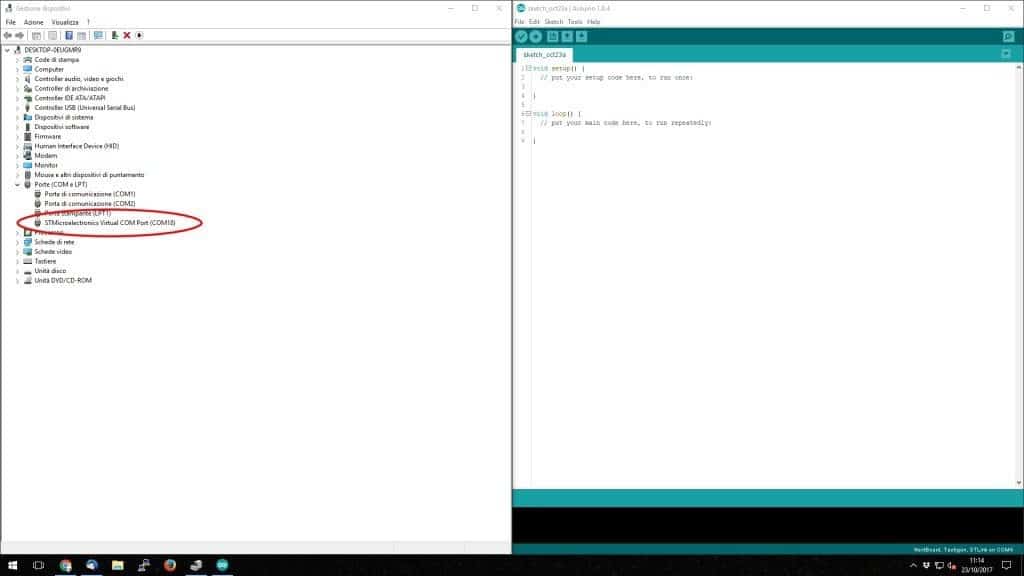
When the installation wizard has completed install, connect The Tactigon
to the PC with micro
USB cable, open Device Manager and check if Under
COM and LPT Ports the device STMicroelectonics Virtual COM Port is present. Take note of the COMxx number showed as we
need this later.
Step III: Setting Up COM in Arduino IDE
Now we’re almost ready to go: Drivers and Libraries are installed, we need to choose the right Upload Method and Port in Arduino IDE.
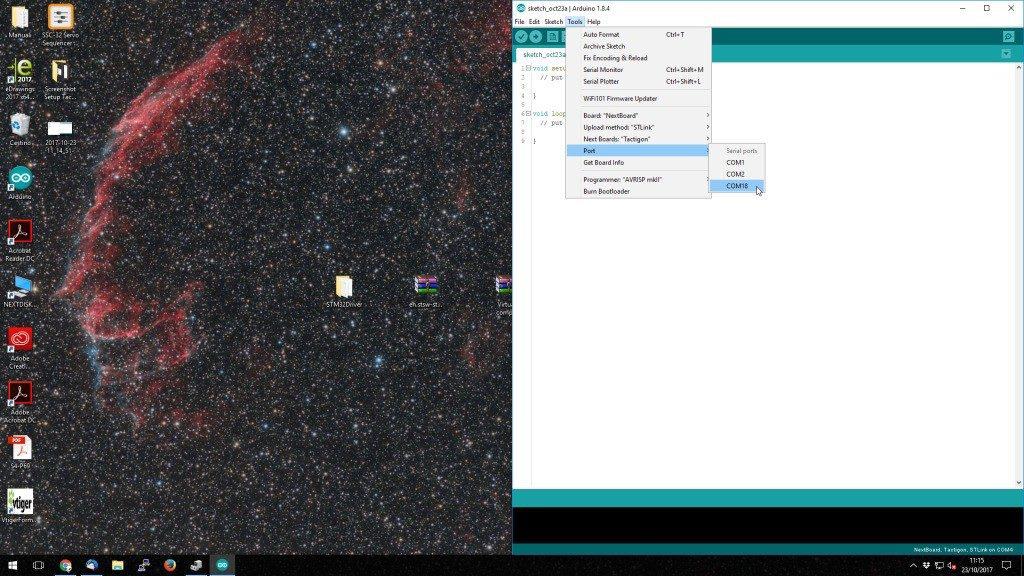
Furthermore, click on Tools -> Port and select the same port we took note on Figure 16.
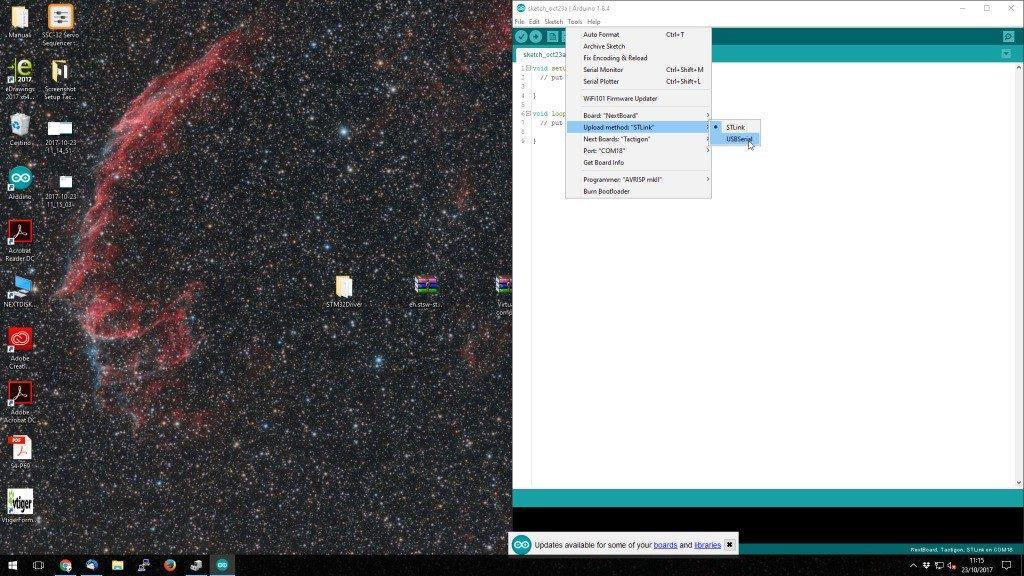
Finally, click again on Tools -> Upload Method and select USBSerial as shown in Figure 18.
Well Done! The Tactigon Quick Start has ended!
You can now upload sketches on The Tactigon!
Follow this link to enter Tactigon’s Library documentation. Libraries Documentation